Chat & context
Written By Stanislas
Last updated 16 days ago
Overview
Swiftask Code helps you ask questions, explore your codebase, create implementation plans, and complete development tasks with an AI agent directly inside your editor.
Use this guide to start conversations, manage context, select models and modes, attach skills, configure completion sounds, and connect external Model Context Protocol (MCP) servers.
Prerequisites
Before using Chat & context in Swiftask Code, verify that:
Swiftask Code is installed in Visual Studio Code and you are signed in.
A project folder is open in VS Code.
You have access to a Swiftask workspace.
Note: Chat history is associated with the project folder currently open in VS Code. Always open the same root folder to retrieve previous conversations for that project.
Step-by-step guide
1. Open the Chat panel
Open Swiftask → Sessions from the VS Code Activity Bar.
The Chat panel provides several core controls:
When you start a new chat, Swiftask displays shortcuts to add context, create rules, and change the agent mode.
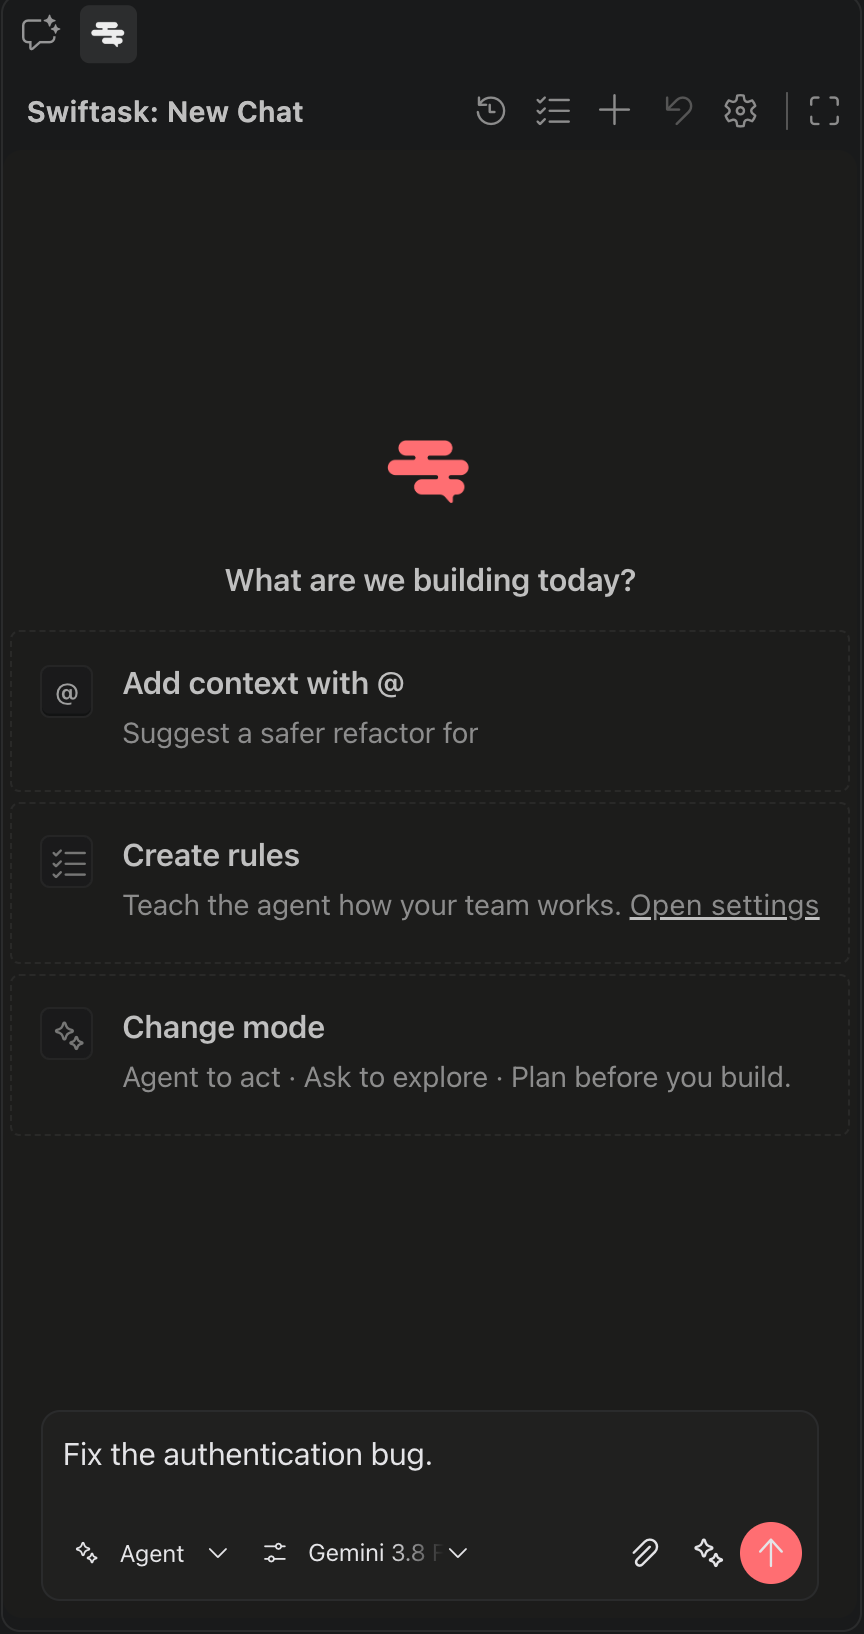
2. Start a conversation
Write your request in the message box, then select the send button.
For the best result, explain:
Your objective
The relevant files or context
Your constraints or expected outcome
For example:
@src/auth Review the login flow for security issues.Do not make changes yet. Explain the issues and propose a fix plan.Or:
@README.md @package.json Explain how to run this project locallyand identify the main application entry point.Swiftask automatically includes useful workspace context, such as the active editor file, selected code, project rules, and a Git summary.
3. Choose how the agent works
Use the controls at the bottom of the chat composer to choose a mode, agent, effort level, and optional skills. These settings apply to the current chat.
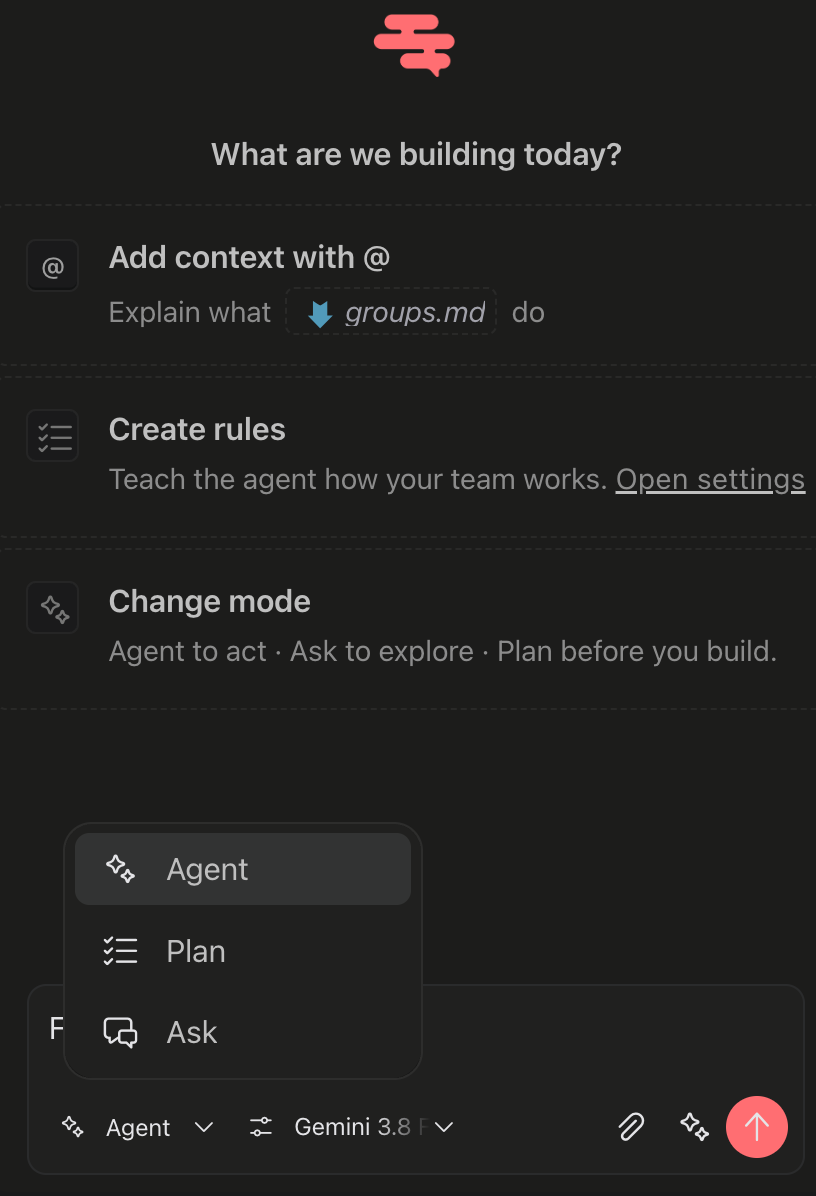
Select a mode
Open the mode selector in the lower-left corner of the chat composer.
Use Ask to understand code, troubleshoot an error, or request a code review.
Use Plan for multi-step tasks, larger features, or work that should be reviewed before implementation.
Use Agent when you are ready for Swiftask to take action.
Tip: A useful workflow is to explore in Ask, prepare a solution in Plan, and implement it with Agent.
4. Improve your prompt with Enhance with AI
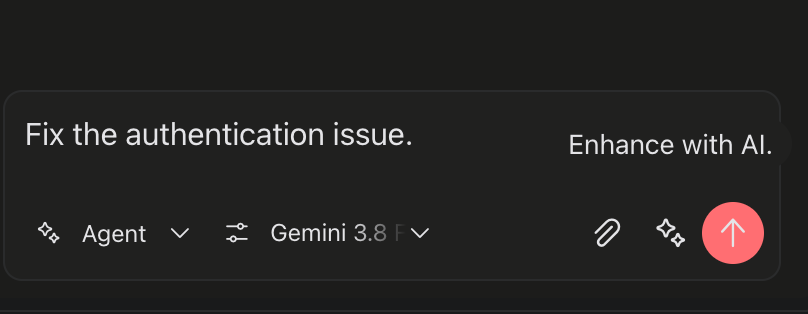
Use Enhance with AI to improve a draft prompt before sending it.
Write a short description of what you want to do.
Select the sparkle icon next to the send button.
Review the enhanced prompt.
Edit it if needed, then send it.
For example, this request:
Fix the auth bugCan become:
Investigate the authentication flow and identify why users are being logged out unexpectedly.Check token storage, token refresh behavior, and API error handling. Explain the cause first,then propose the smallest safe fix.Important: Review the enhanced prompt before sending it, especially for implementation work or requests involving sensitive project information.
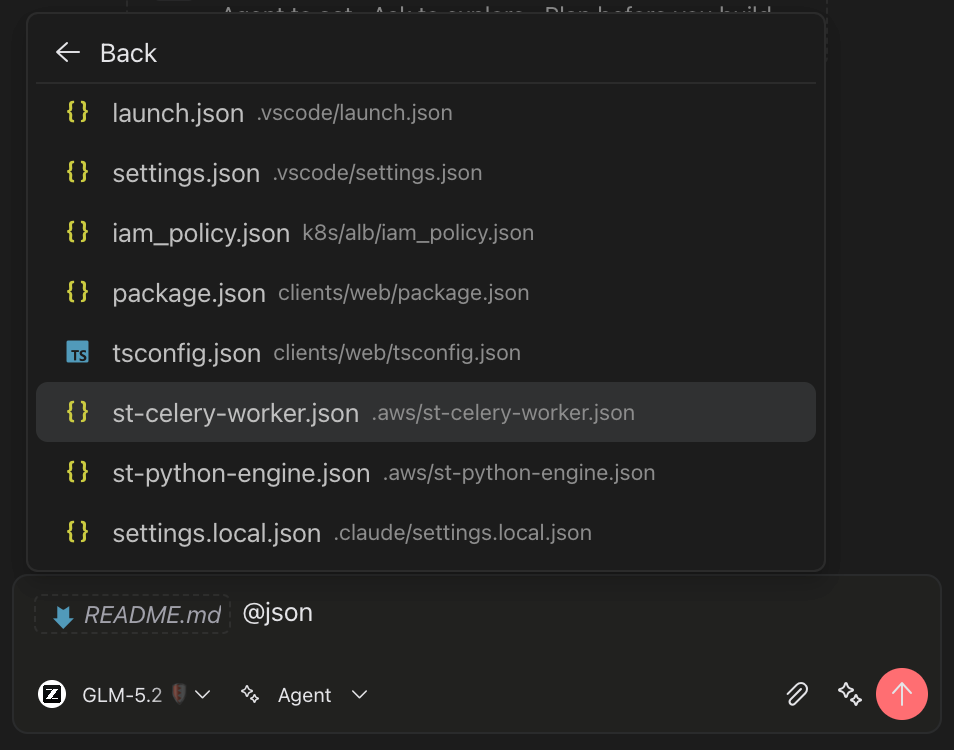
5. Add context with @
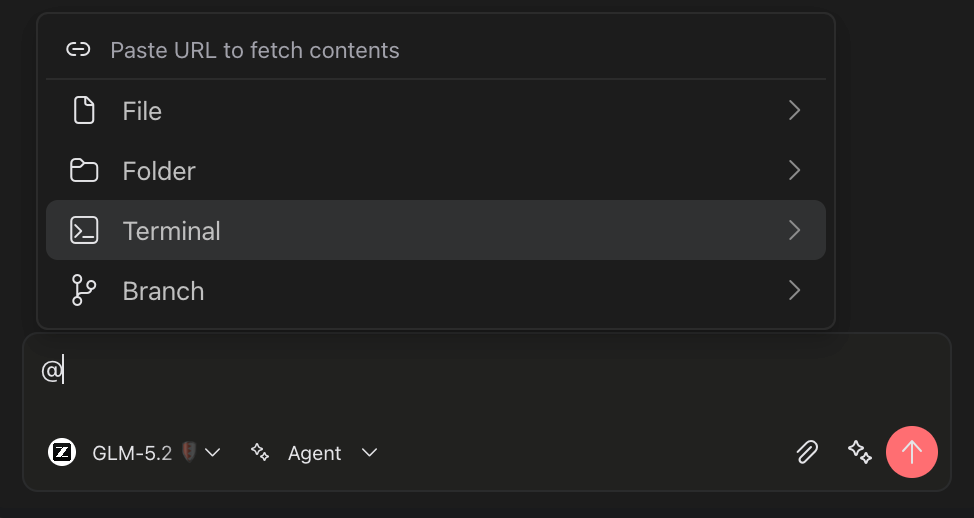
Adding relevant context helps Swiftask provide more accurate answers and better results.
Type @ in the message box, then select the item you want to include.
Examples:
@src/components Explain how this folder is organized.@Terminal 1 Why did this command fail?@terraform.lock.hcl Is this dependency configuration compatible with the project?@README.md Summarize the setup instructions in plain language.Tip: Mention the smallest relevant context. A focused file or folder often gives better results than the entire repository.
6. Use Add to Chat and images
Add relevant code, files, and visuals to give Swiftask the context it needs.
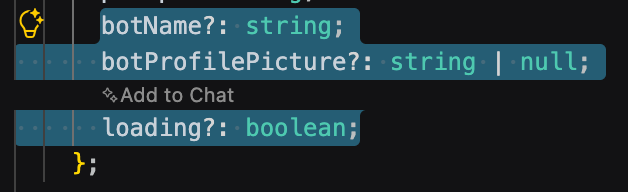
Add selected code from the editor
To send a specific code selection to the chat:
Select text in the VS Code editor.
Right-click the selection.
Select Add to Chat.
Enter your request and send the message.
This is useful when you want to review a function, explain an error, or request a focused change without copying and pasting code manually.
Attach images
Select the attachment button in the chat input to add an image.
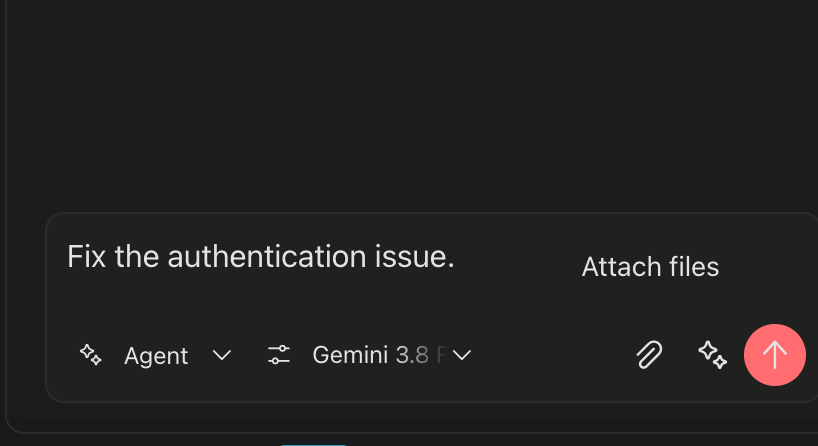
Images are useful for sharing:
UI screenshots
Error messages
Stack traces
Design references
Visual bugs
For example:
Review this screenshot and explain why the layout breaks on small screens.Security reminder: Do not attach API keys, passwords, access tokens, or other sensitive information.
7. Understand the context indicator
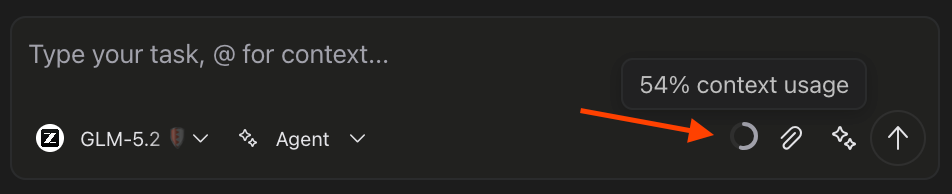
The ring near the chat input shows how full the conversation context window is.
As a conversation gets longer, Swiftask may summarize older messages to make room for new ones. This helps the chat continue, but some early details may no longer be available in full.
Context full: Older messages are summarized to free space.
Starting a new topic: Start a new chat to give the agent a clean context.
Recommended workflow: Explore the codebase in Ask mode, create an approach in Plan mode, then implement the work in Agent mode.
8. Create an implementation plan
Use Plan mode to create a structured approach before making changes.
Planning is especially useful for tasks that:
Affect multiple files
Require architectural decisions
Need review before implementation
Have unclear requirements
Involve migrations, refactors, or potentially risky changes
To create a plan:
Open the mode selector in the chat composer.
Select Plan.
Describe the task, including relevant context and constraints.
Review the proposed plan.
Ask follow-up questions or adjust the plan if needed.
Switch to Agent mode when you are ready to implement.
Example:
Create a plan to add role-based access control to this application.Identify the affected files, data-model changes, API updates, UI changes,migration requirements, and tests. Do not make changes yet.Tip: A good plan identifies the files or areas likely to change, the implementation steps, risks, and validation steps.
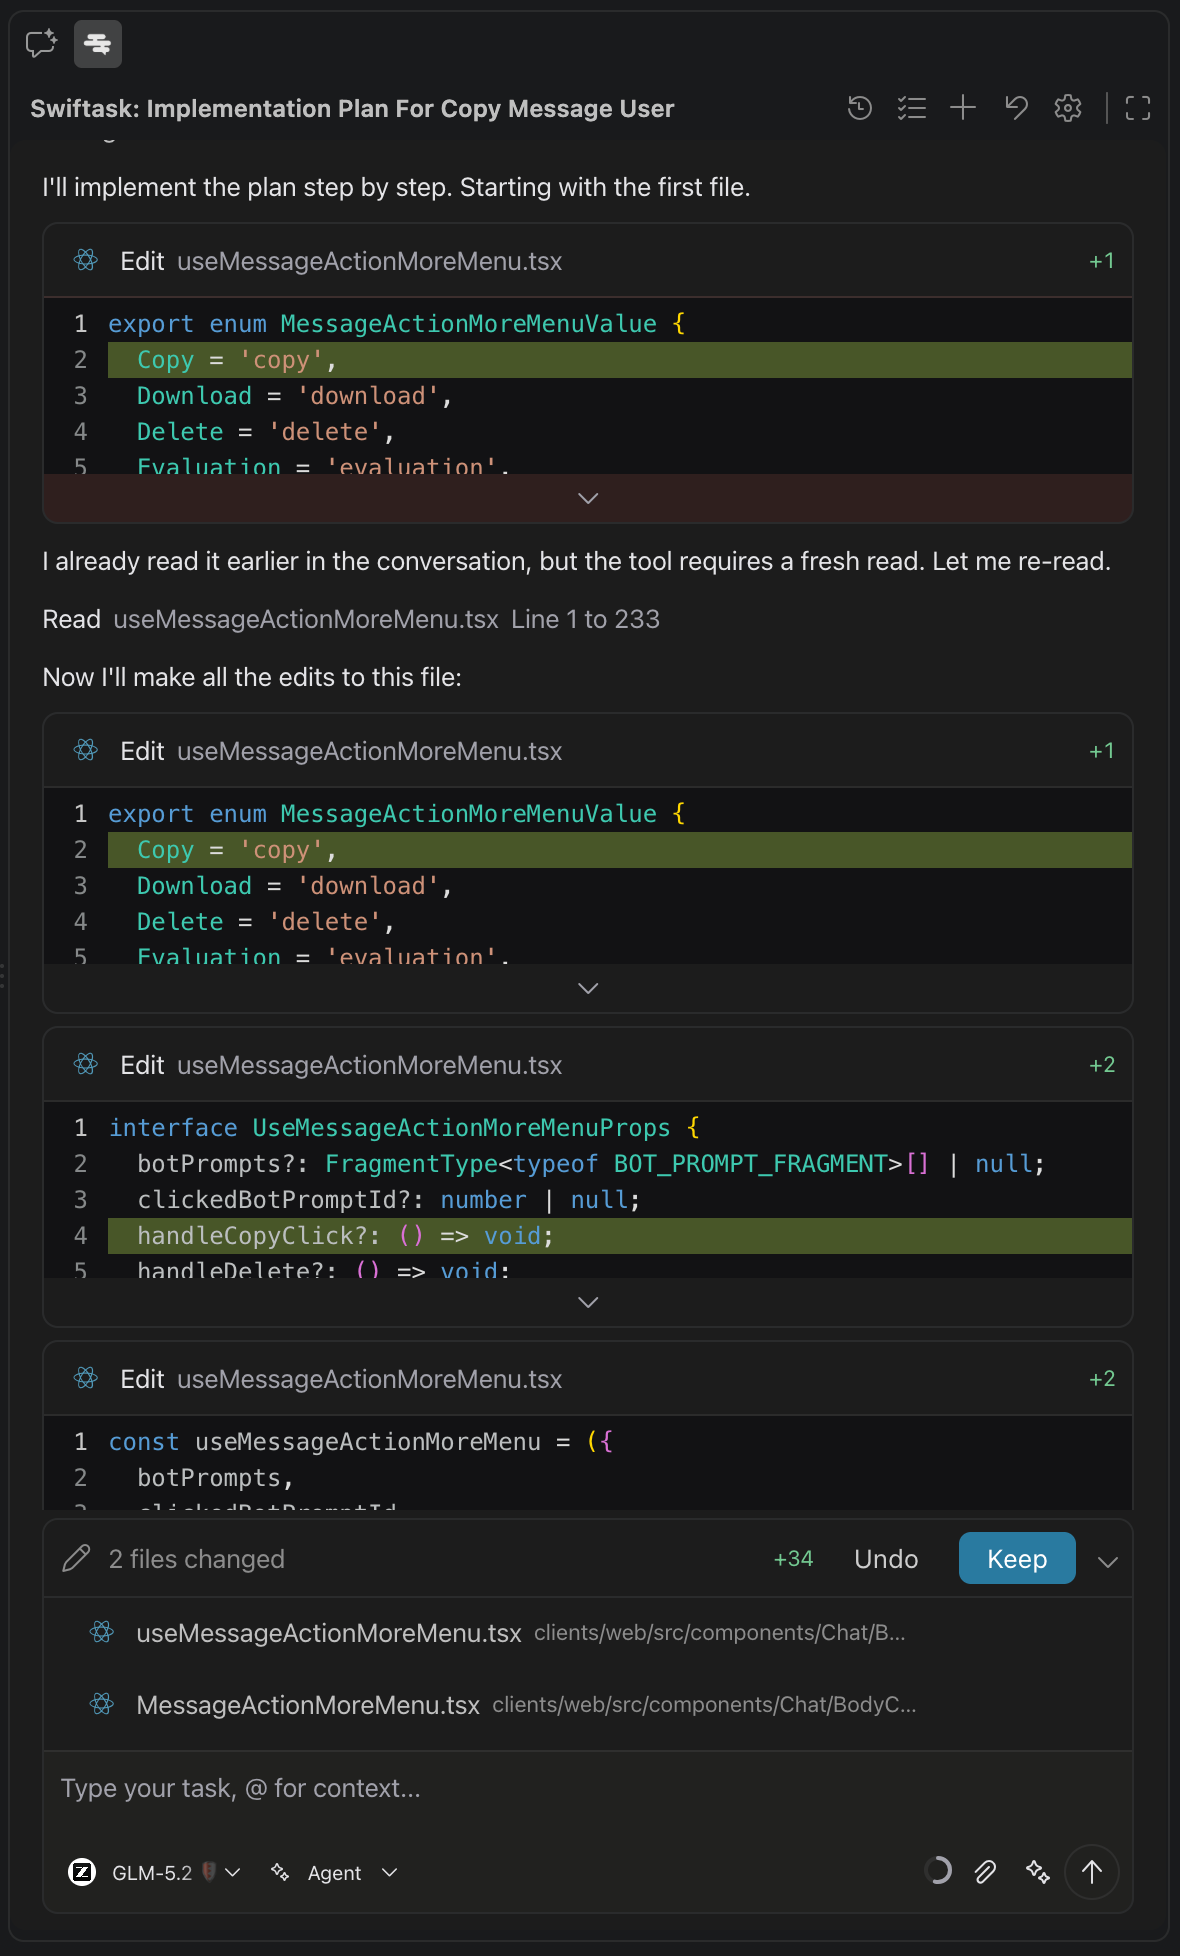
9. Manage chats and sessions
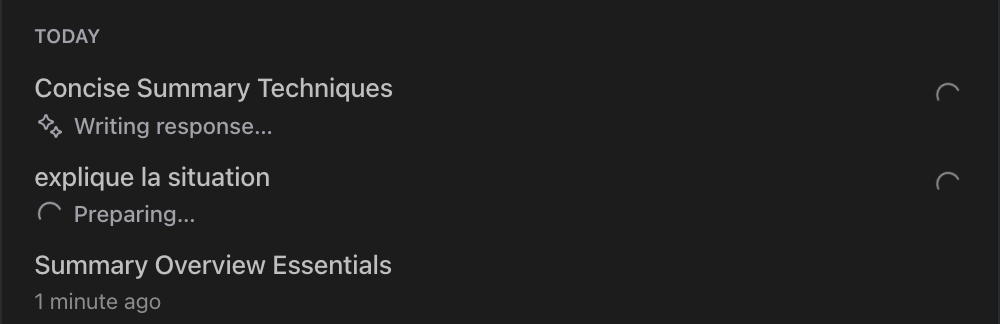
A session is one conversation with Swiftask. Sessions let you work on several tasks while keeping each conversation and its context separate.
You can run multiple Swiftask tasks at the same time. If an agent in another session needs your approval or asks a question, Swiftask displays a notification banner.
When to start a new session
Start a new chat when:
You begin an unrelated task.
You want a clean context window.
You need to explore a different implementation approach.
The current conversation has become too long or unfocused.
Stop a running task
While an agent is working, select Stop to halt the current task.
Use Stop when you need to change the request, review the agent’s progress, or prevent it from continuing in the wrong direction.
Practical use cases
1. Code review and vulnerability audits
Run an agent in Ask mode using targeted context (@src/auth) to detect security vulnerabilities, insecure token handling, or unvalidated inputs before writing code.
2. Rapid developer onboarding
Reference @README.md and @package.json with @ to understand project architecture, local environment setup, and primary application entry points without manual documentation searching.
3. Multi-file architectural refactoring
Use Plan mode to design architectural refactors—such as migrating an ORM schema, implementing RBAC, or restructuring API routes—reviewing dependencies and test plans before switching to Agent mode for execution.
Tips & best practices
Use focused context by mentioning only the files, folders, logs, and links relevant to the task.
Use Ask to explore, Plan to prepare, and Agent to implement.
Start a new chat for a new topic.
Create project rules for coding conventions, testing requirements, and team workflows.
Protect sensitive data by avoiding credentials, tokens, and confidential information in messages or attachments.
Re-mention important files, requirements, or decisions if you return to them after a long conversation.
When the context is full, older messages are automatically summarized to preserve essential information. To start again with full context, create a new conversation.
Troubleshooting
Additional resources
Swiftask Knowledge Tables: Attach workspace knowledge tables as skills to give agents company-specific context.
Rules and Permissions: Configure project-level rules and tool approval settings in Settings → Rules.
Model Context Protocol Specification: Learn more about building and connecting custom MCP servers.
Was this helpful?
Still need help? Ask the team