Account & workspace
Written By Stanislas
Last updated 26 days ago
Overview
Sign-in, workspace, models, and credits — what you see as a Swiftask Code user.
For admin setup, billing policies, and organization-wide settings, use the other Help Center sections linked below.
Prerequisites
A Swiftask account (sign in here)
Membership in a Swiftask workspace (your company may invite you to a specific one)
Step-by-step guide
1. Sign in & sign out
Open Swiftask Code and click Sign in
Complete login in your browser
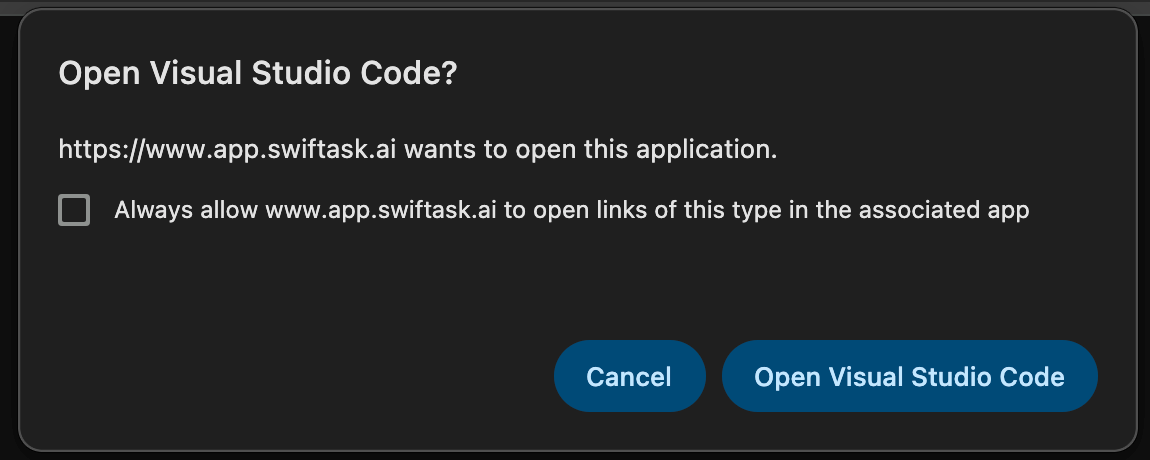
You return to VS Code automatically
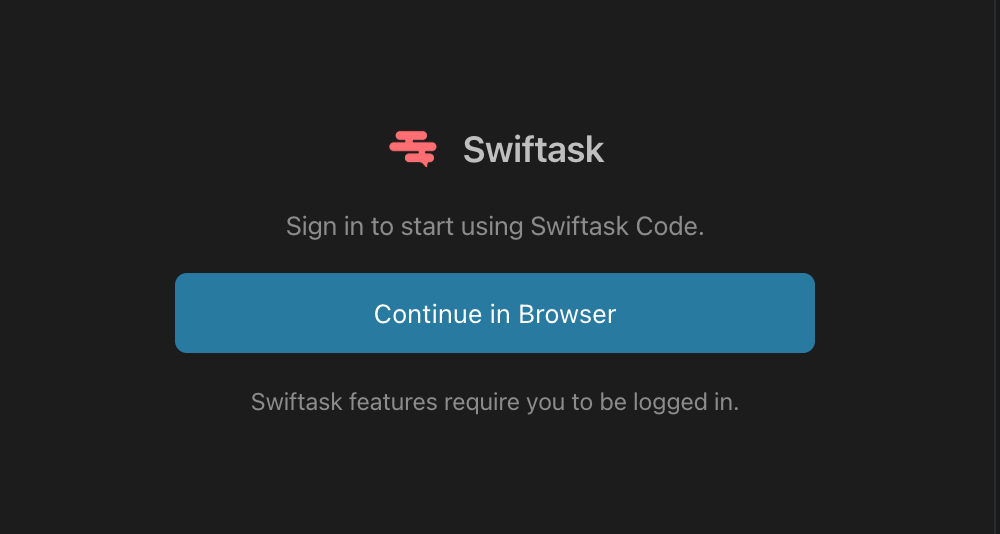
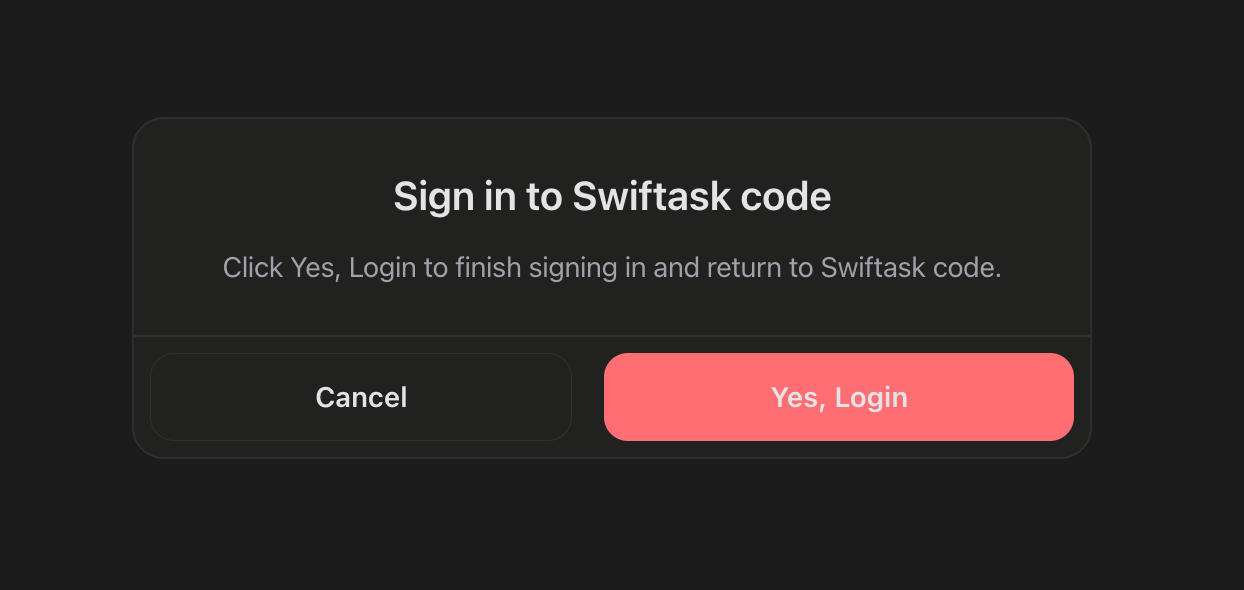
After clicking the button "Continue in Browser," you will see this in the browser. Just click "Yes, Login" to log in.
And after, you can click “Open Visual Studio Code” to redirect and open VSCode directly.
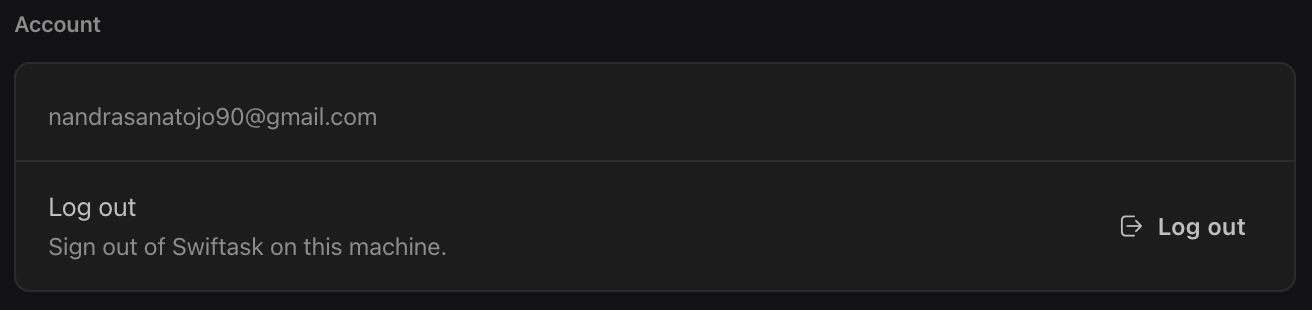
Sign out: Swiftask Settings → General → Log out
2. Switch workspace
If you belong to more than one workspace:
Open Swiftask Settings → General
Use the workspace switcher
Pick the workspace you want
Models, credits, and policies follow the active workspace. Your chat history stays tied to the project folder on your machine — switching workspace doesn't delete local sessions.
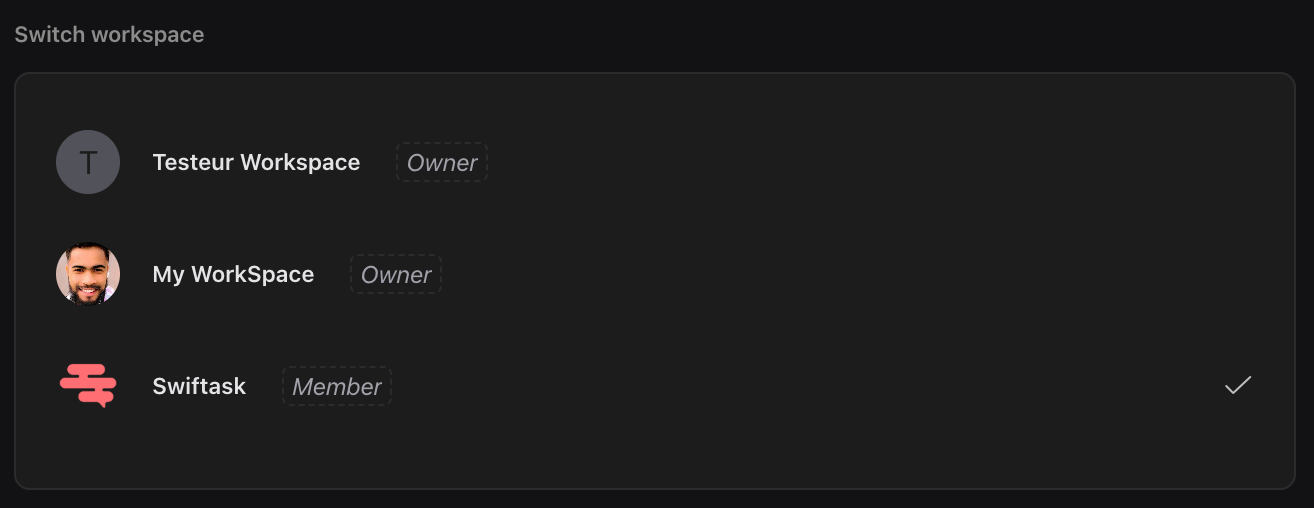
What changes when you switch workspace?
3. Check credits & usage
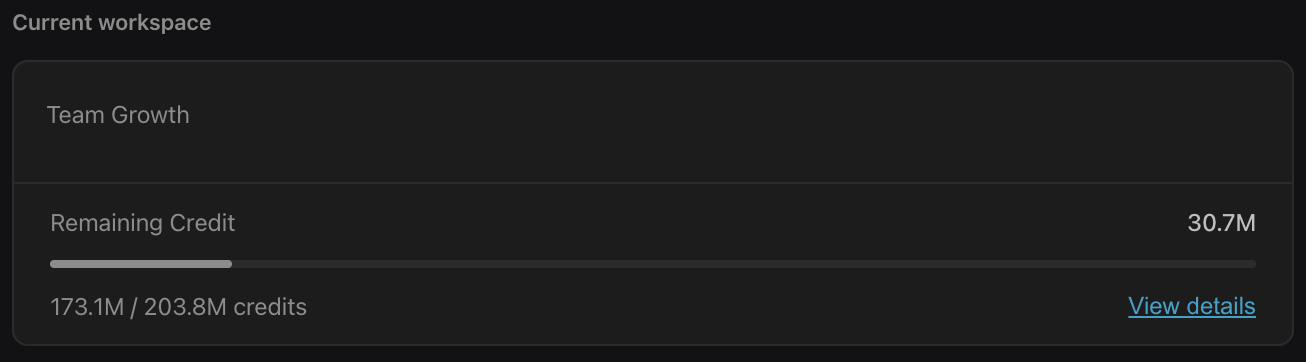
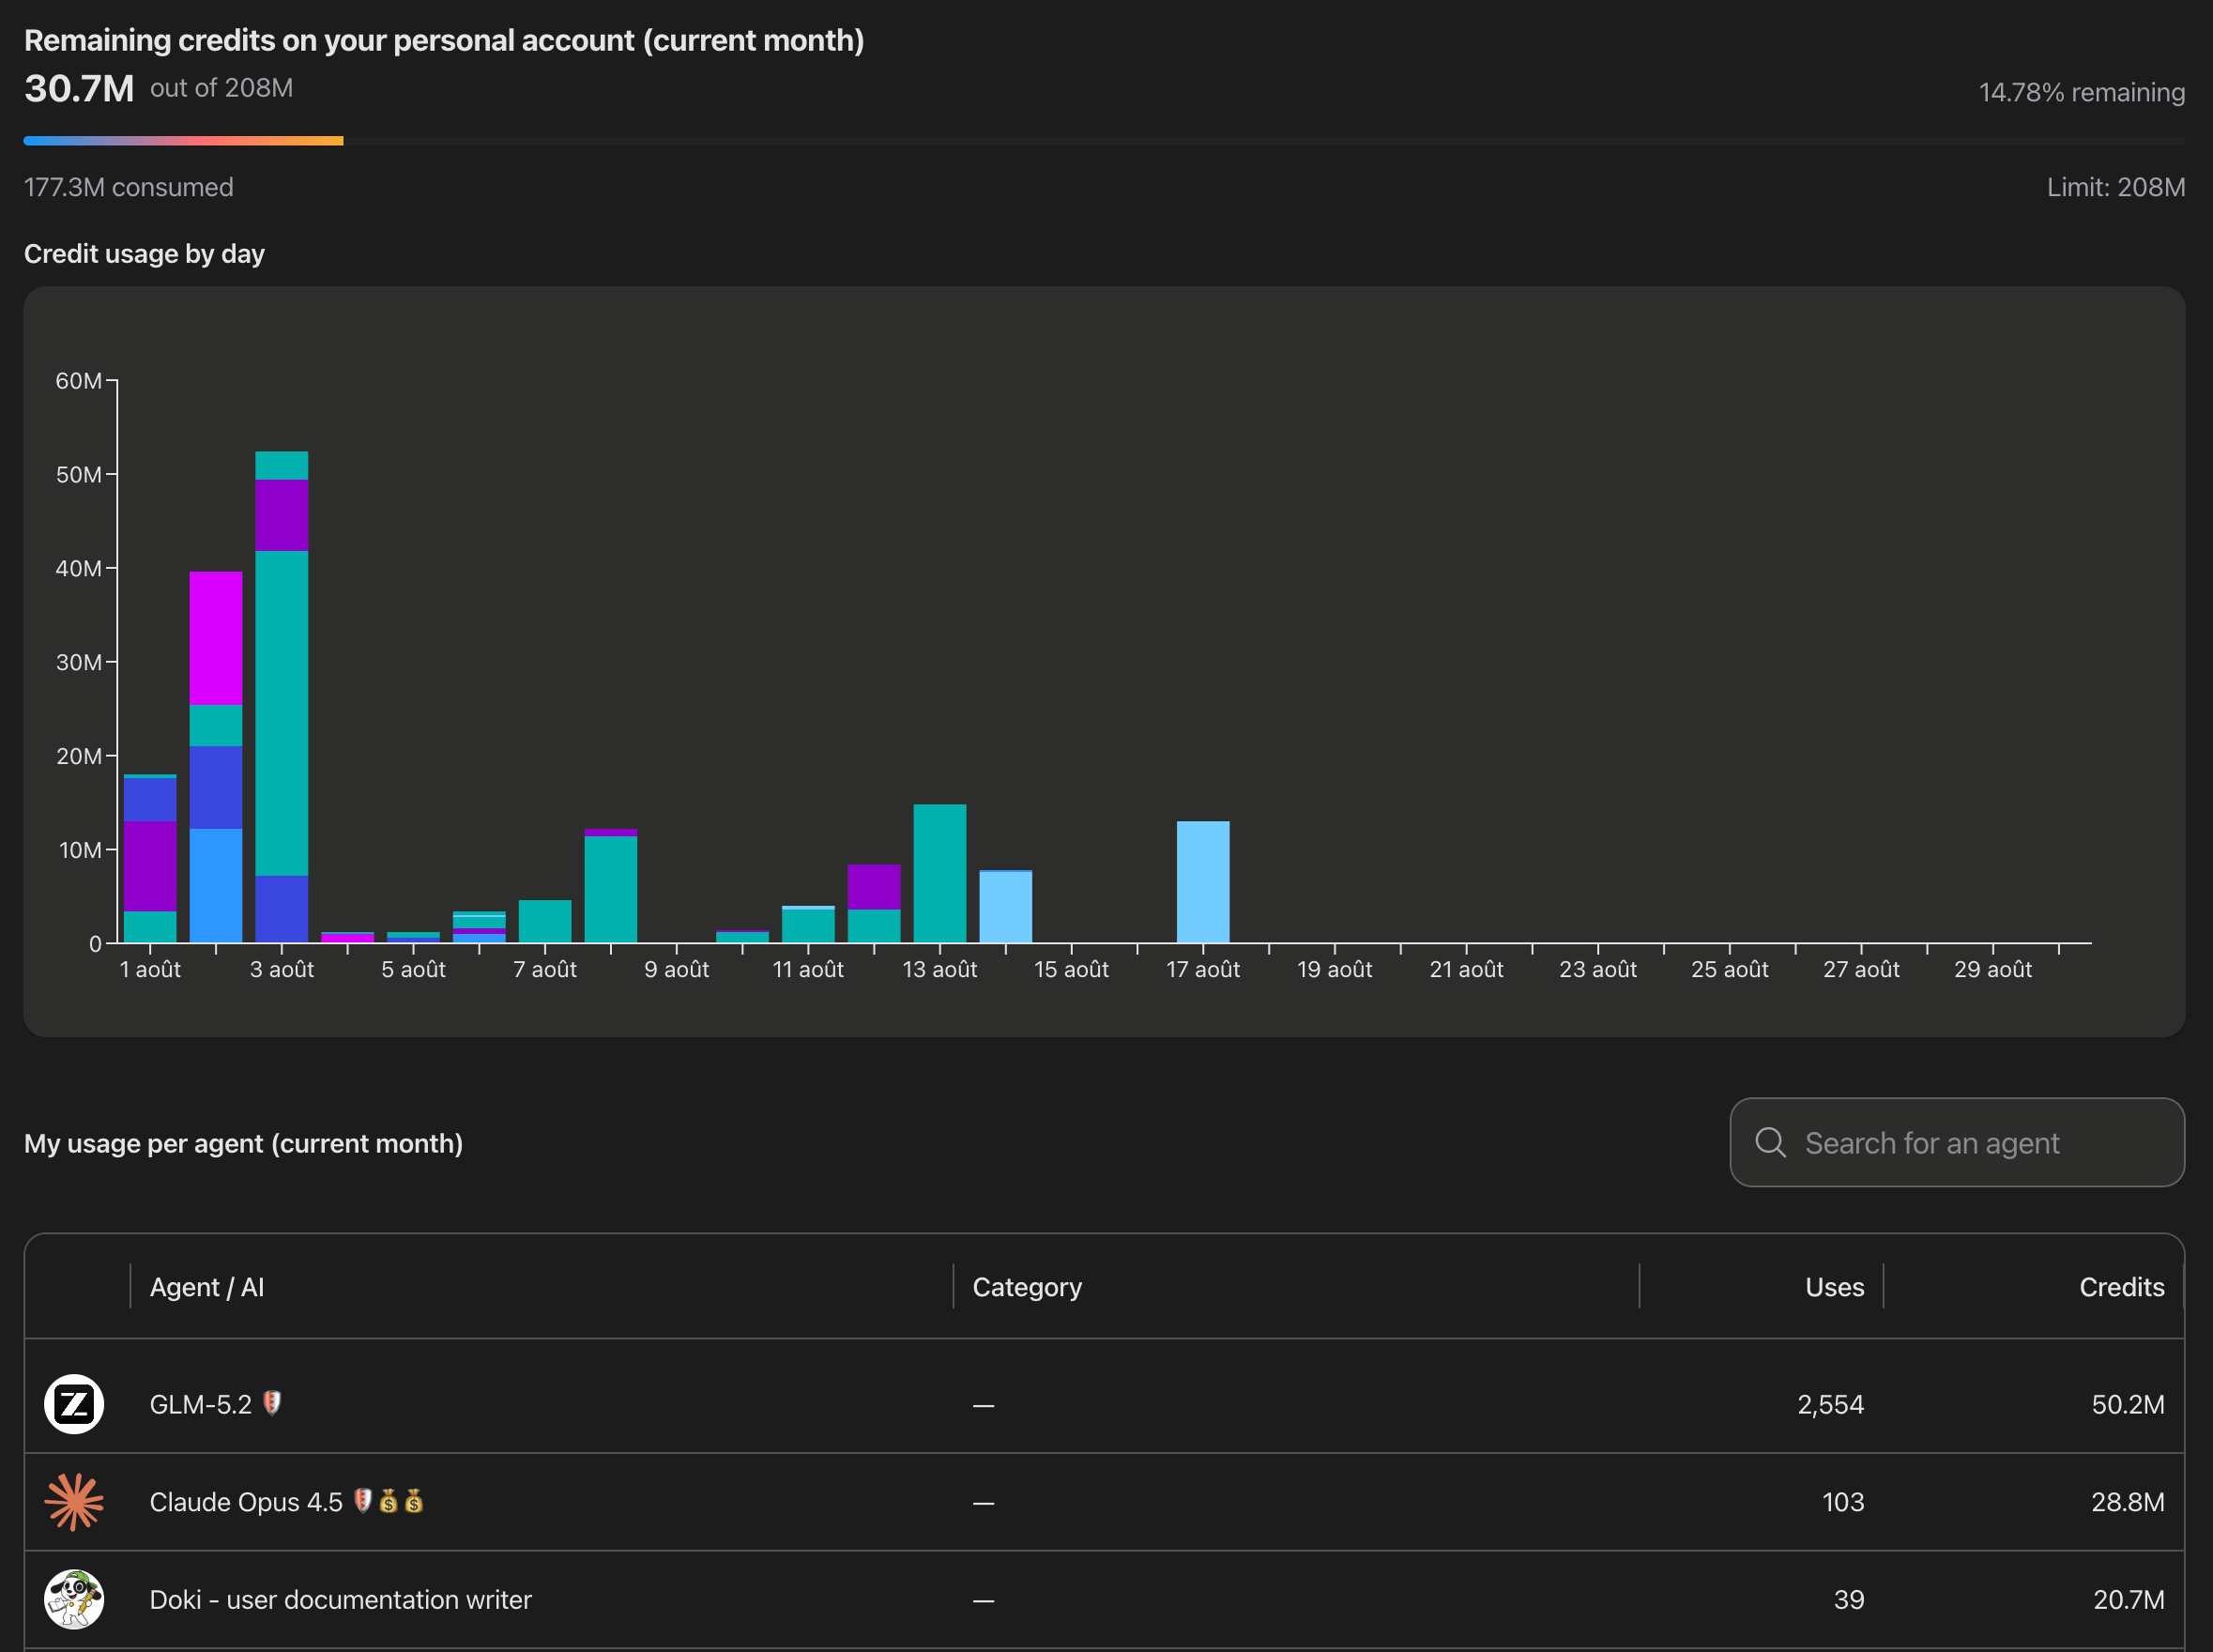
In Settings → General you can see:
Remaining credits (if your plan uses them)
Usage progress for the current period
Links to view more detail or upgrade
Exact numbers depend on your organization's Swiftask plan. For invoices, plans, and billing questions, see the Usage, credit & Billing collection in this Help Center.
4. Choose a model
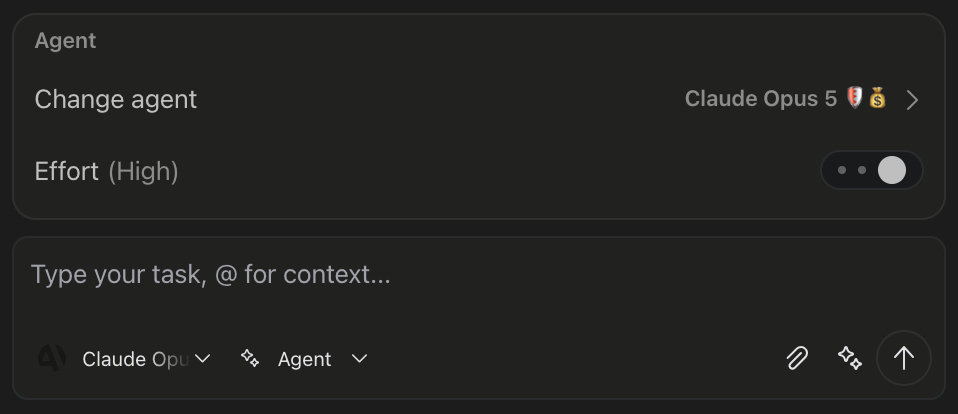
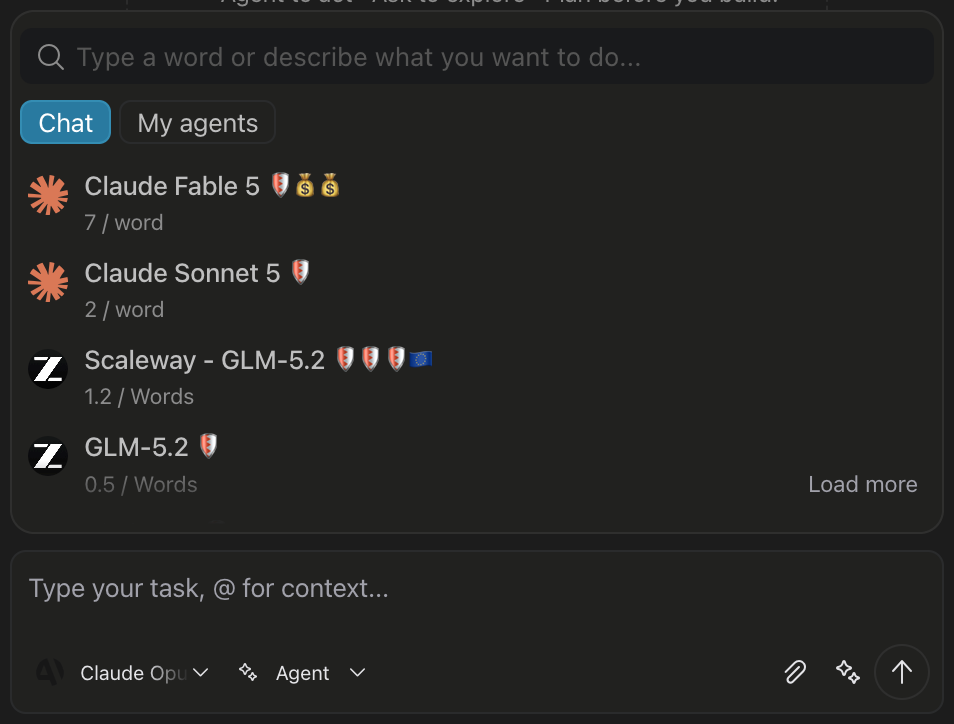
The model picker in chat lists only models your workspace allows. If a model you expect is missing, your admin may not have enabled it for your workspace.
You can pick a different model per session. Thinking level (low / medium / high) is separate — it controls reasoning effort, not which model you use.
Practical use cases
Consultant working across multiple client workspacesSwitch between workspaces to use the correct models, credits, and policies for each client project — local chat history stays separate per project folder.
Checking budget before a large taskLook at remaining credits in Settings → General before starting a large Plan → Build task, to avoid interruptions mid-way.
Tips & best practices
For administrators — Swiftask Code users inherit policies from their workspace. Admins configure the platform elsewhere:
You don't need a separate "enterprise" article inside Swiftask Code — point your IT team to those collections.
Privacy in brief:
Chats, plans, and personal rules are stored on your computer
AI requests go through Swiftask so your organization can apply model rules and usage tracking
Swiftask Code doesn't upload your whole repository — it sends only what's needed for each request (file contents it reads, messages, and results)
For legal and privacy details, see your organization's Swiftask agreement and the platform privacy pages linked from Support & Help Center.
Additional resources
Overview — if you haven't installed yet
Customize — rules and approvals
Help & FAQ — sign-in and account issues
Was this helpful?
Still need help? Ask the team