Meeting recording
Written By Stanislas
Last updated 16 days ago
Overview
Meeting recording captures audio from your conversations across desktop, browser, and scheduled events, automatically converting speech into structured text. It supports in-person meetings via microphone, desktop calls on Zoom or Teams, browser sessions via the Swiftask Chrome extension, and direct meeting links.
While recording, Swiftask displays live audio waveforms and updates the transcript progressively every minute. You can interact with the live transcript using AI chat during the active meeting to check facts or track emerging action items before the call finishes.
Prerequisites
To record meetings in Swiftask, you need:
An active Swiftask account.
A functional microphone (internal, USB, or Bluetooth headset).
Operating system or web browser microphone permissions.
The Swiftask Chrome extension installed for browser-based video calls.
Step-by-step guide
Open your meeting through your preferred method:
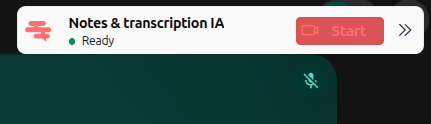
Chrome extension: When joining Google Meet, Teams, or Zoom, the Notes & transcription IA widget displays automatically. Click Start to initiate the session.
Web link paste: In Meetings → Record meeting, paste your meeting URL to send the AI bot into the room.
Calendar: Go to Calendar → Coming up, click your event, and select Join with agent or Record locally.
Desktop app: Navigate to Meetings and click Record meeting.
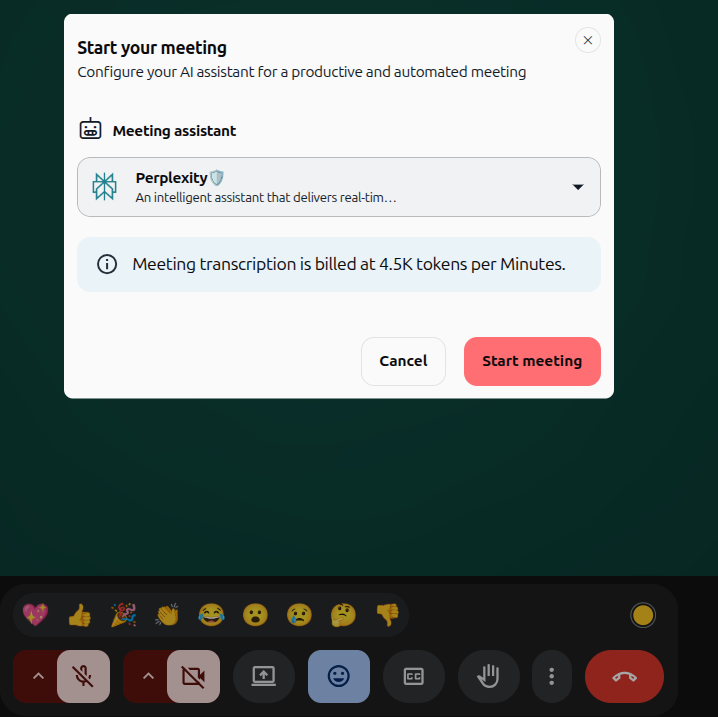
In the Start your meeting dialog, choose your Meeting assistant from the dropdown menu (e.g., Perplexity) and click Start meeting. Meeting transcription is billed at 4.5K tokens per minute.
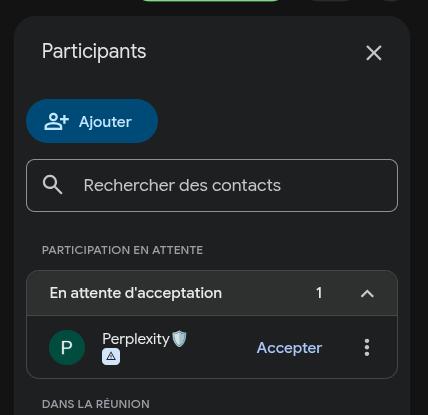
If prompted in the meeting platform waiting room, have the meeting host click Admit (or Accepter) to allow the assistant into the call.
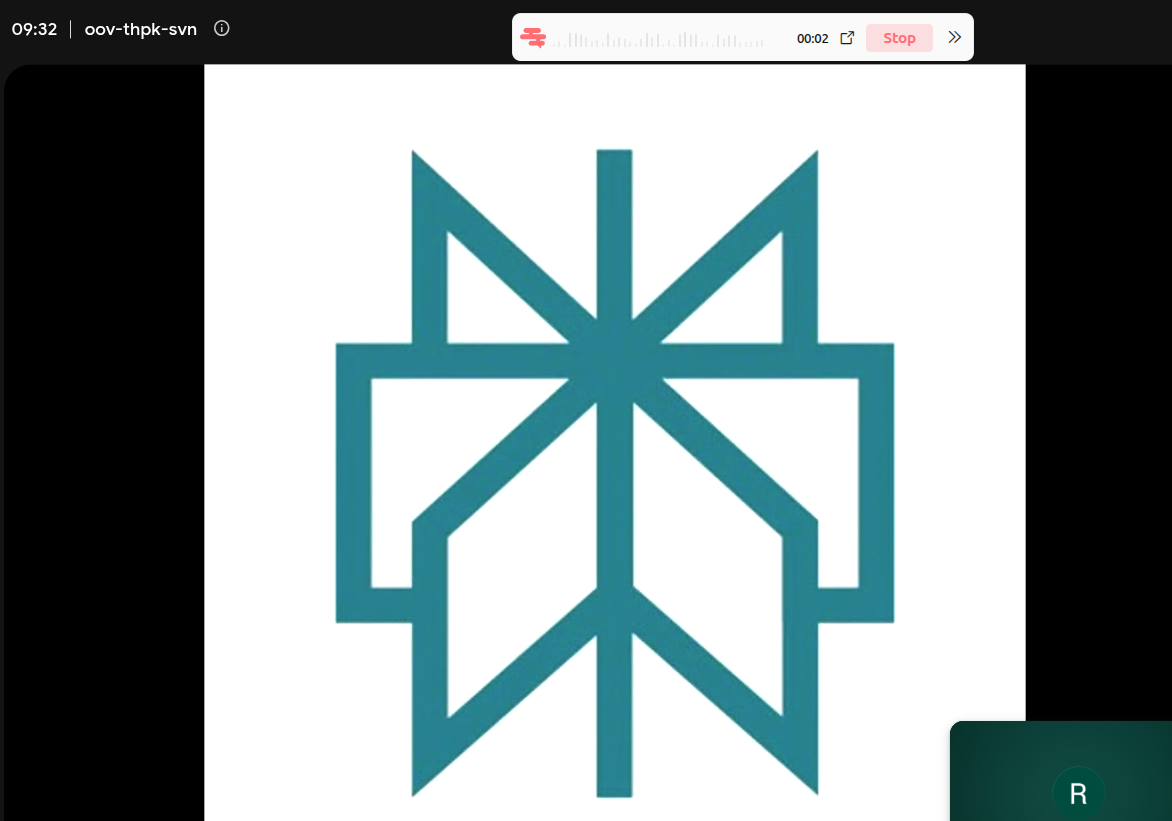
Speak naturally during the call. The recording pill shows live audio waveforms and an elapsed timer at the top of your meeting screen.
In the Swiftask web interface, follow the progressive live transcript on the right while querying your AI assistant in the chat panel on the left.
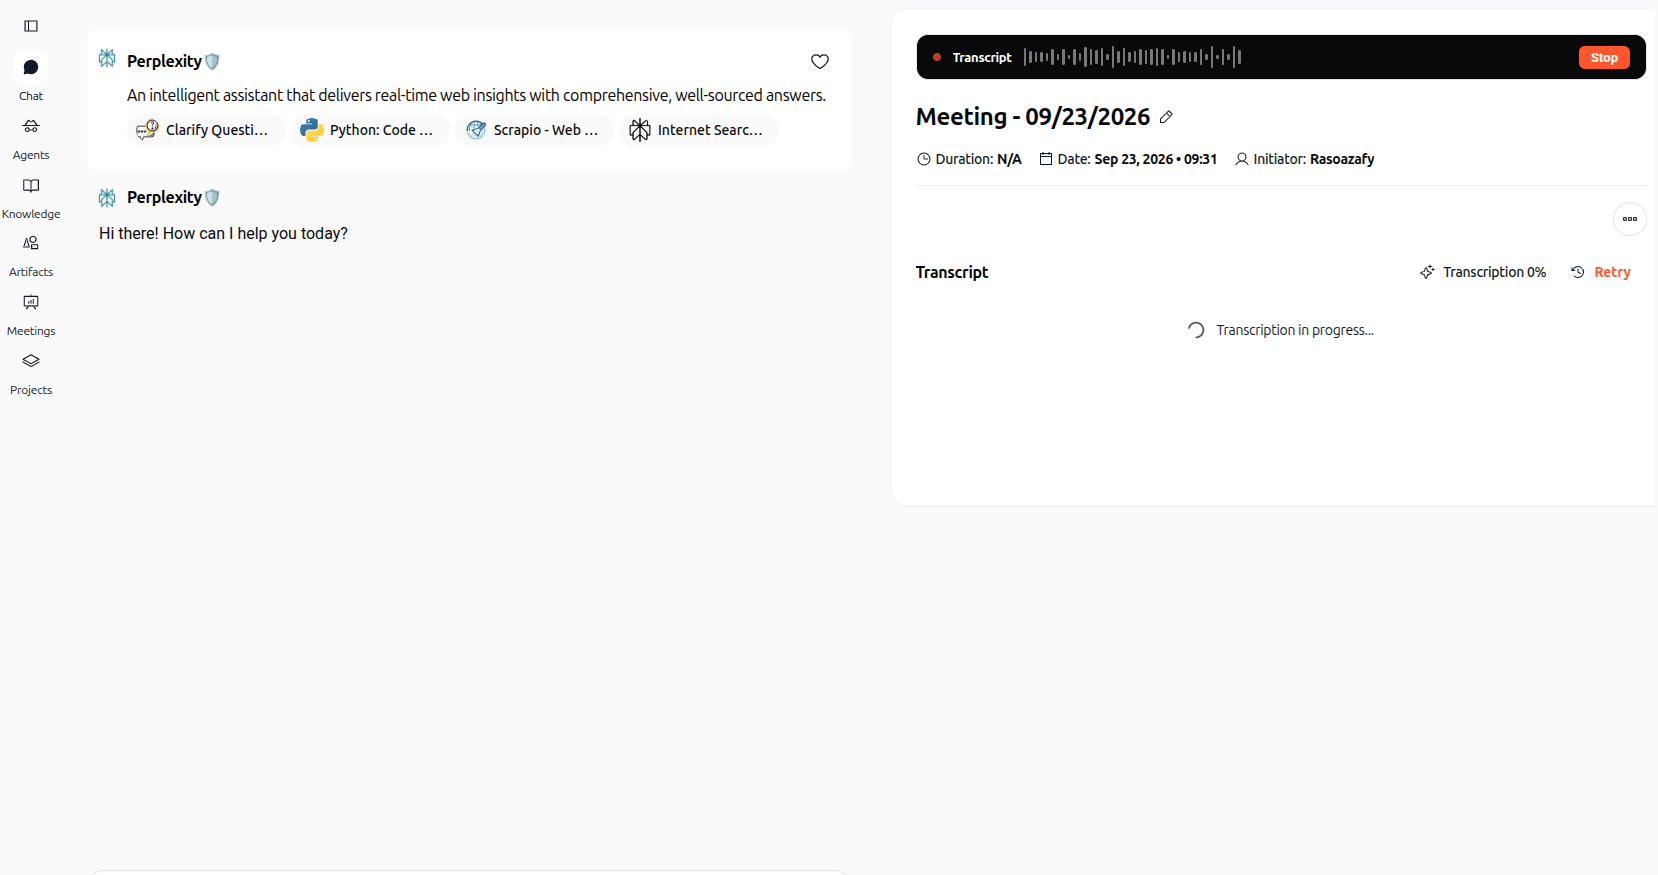
Click the red Stop button on the recording pill or in the web app when finished to finalize the transcript and generate automated summaries.
Practical use cases
Browser-only video calls: Record Google Meet discussions directly through the Chrome extension without running external desktop software.
Scheduled client presentations: Launch meetings directly from Calendar → Coming up with your chosen AI assistant already present.
Ad-hoc team discussions: Use direct URL paste to invite the AI transcription bot to unscheduled conference calls.
Tips & best practices
Minimize the timer widget: Click the collapse arrow on the extension popup to keep an unobtrusive HH:MM:SS timer pill visible during calls.
Check token rates: Note the 4.5K tokens per minute billing rate indicated in the start dialog.
Test audio input: Ensure your microphone is positioned 6 to 12 inches away from your mouth for clearest transcription.
Troubleshooting
Extension popup does not appear: Verify that the Swiftask extension is pinned and granted permission to access Google Meet, Teams, or Zoom pages.
Bot cannot enter meeting: Ensure the meeting host accepts the AI agent's entry request from the platform waiting room.
Audio quality warning: Move to a quieter area or switch to a dedicated headset microphone if background noise is high.
Additional resources
Introduction - AI-assisted meetings – Discover the full meeting ecosystem.
Analyzing meeting transcripts with AI – Analyze transcripts, watch video playback, and query conversation details.
Cloud synchronization – Learn how recordings sync across desktop, web, and mobile.
Organization by collection – Structure your recordings into organized collections.
Was this helpful?
Still need help? Ask the team